This is the return (inside edge) of a window on a wall that is to receive wallpaper . The existing paint has a semi-gloss finish . (The missing paint in the white speckled area will be addressed in a future blog post.) The wall has a textured surface , which will need to be smoothed before the wallpaper goes up. Most materials won’t adhere well to a glossy surface . So I’m a little worried that my smoothing compound won’t stick . Actually, joint compound is formulated to be pretty sticky stuff, and most contractors just apply it and don’t worry about it. But in my usual overkill, I wanted to provide a matt finish for the smoothing compound to grab ahold of.
So here I’m rolling on a coat of primer , that will dry with a flat finish . Coverage doesn’t have to be 100% perfect; we’re just trying to provide a finish that the smoothing compound can cling to. There are lots of primers out there that will work for this. You want to be sure that it is formulated to stick to a glossy surface , and that it will dry with a matt / flat finish .
This primer is formulated for use under wallpaper , and performs several tasks specific to wallpaper. But – I’ve found that it also sticks to just about anything, and also dries with a matt finish. It’s expensive (right now, about $85/gallon (and seems to increase every time I visit my paint store … ). But, to avoid having to carry a number of different primers on my van, I’ve been using this as a primer / de-glosser for slick surfaces, as well. It’s made by Roman , who also makes the various wallpaper adhesive / paste that we use. It’s called Pro 977 Ultra Prime . installer houston
The pedestal sink had to go, but the homeowner couldn’t find a vanity or countertop tht she liked. So she had a stone yard custom-make this beautiful sink and high sculpted backsplash. They did a good job fabricating the marble … but not so good in repairing damage caused while removing the old sink and installing the new one. So I got to fix the ridges left in this wall – and more in other areas of the room.
Before shot. That’s my fan there, set to dry smoothing compound I’ve applied, and also the wallpaper primer .
The colors in the wallpaper really go nicely with the new marble .
Don’t forget to put wallpaper under the sink !
Toilet wall before Toilet and side wall done Peacock by Rifle Paper is a very popular pattern . I’ve hung it a bunch of times. This is on a non-woven substrate , which has a 20% polyester content, which makes it stronger and more durable and more stain-resistant than typical paper wallpapers . It also is designed to strip off the wall easily and without damage to the wall when you redecorate . Because it doesn’t expand when wet with paste, nor shrink as the paste dries, it can be installed by the paste the wall method ,,, but I usually prefer to paste the paper .
This was purchased from Dorota at the Sherwin-Williams in the Rice Village ( Houston ). She’s super at helping you find your perfect wallpaper pattern , and at discounted prices, too. Call first, as her hours vary. (713) 529-6515 .
My Before picture didn’t turn out, so here it is After. This is the room from two posts ago where someone had attempted to cover the wall with a peel & stick material . That didn’t go so well – click and read my page on the right. Amazingly, the homeowner found a patter that was very similar to his original choice. The room has other geometric patterns, such as in the bedspread . Also, there are a lot of natural wood elements in the room, such as cedar bedside tables and dresser. And artwork that reflects trees. So the wallpaper focal wall really pulls the whole room together.
The specs on this material that I got before the installation said that the pattern was a drop match . Well, it was. But what the manufacturer neglected to include in the specs and on the label was that it was actually a multiple drop or quarter drop pattern match . There’s a big difference. On a straight pattern match , you’ll see the same element, such as a rose bud, at the top of the wall at the same place on every strip. With a standard half drop pattern match , that rose bud will be at the top of one strip, then drop down a half a pattern repeat on the next strip, and then be back up to the top of the wall on the third strip. In other words, the pattern placement on every other strip is the same. But on a multiple drop match , that rose bud appears at the top of the wall on only every fourth strip. If the installer doesn’t catch this at the beginning, and goes ahead and cuts his strips as if it was a typical drop match pattern, he could end up with a lot of panels that won’t match and that can’t be used.
Here you can see the wood grain look. Not easy to see here, but that wood grain in some of the motifs continues across the seams. So you’re lining up not just the gold lines, but the grain direction and also the color within each of those triangles . As you can see, all those triangles look pretty much alike, so it was a challenge to keep the pattern matched correctly on every strip. But – wait! It gets more complicated. Factor in the multiple drop pattern match , and this was a real brain-bender to match , plot , and hang .
The surface is vinyl, and is embossed to look – and feel – like wood grain . This is actually a three-dimensional / 3-D material . The backing is what we call non-woven , which has a polyester content. It’s stronger than paper wallpaper , won’t expand when wet with paste , won’t shrink as the paste dries , will strip off the wall easily and without damaging the wall when you redecorate, and can be hung by the paste the wall method – which is what I used today. It was nice to work with.
Since this was a dark paper, and I didn’t want the white edges of the substrate to show at the seams, I used some black chalk to color the edges. Run the chalk from the back, to avoid getting color onto the surface of the wallpaper. The stuff is fragile and crumbles easily, so that’s why the tiny chunk of it in the photo. It’s important to use chalk or pastel, and not oil pastels and not a Sharpie or marker. Oil and ink will wick into wallpaper and stain it. It can take a couple of months, or years, but eventually a stain will appear.
Another way to help prevent white from showing at the seams is to run a darker stripe down the wall where the seams will fall.
You can measure over and plot where the next seam will land, and use a level and then draw a vertical line with a pencil, and then apply the paint . Easier is to use a laser level to shoot a line on the wall, and then apply the paint.
I use acrylic paint from the hobby or art supply store. Don’t apply the paint straight from the bottle – wallpaper isn’t designed to adhere to paint. It wants to stick to a wallpaper primer, which is what I’ve got on that wall a few pics above. That primer has a job to do, so don’t cover it with a thick layer of paint. I dilute the paint with water. Then use a scrap of sponge to daub it on to the wall. Be sure it’s dry before you hang your strip of wallpaper. A heat gun will speed drying time. To find this textured , wood grained , geometric pattern , the homeowner shopped with Dorota at the Sherwin-Williams store in the Rice Village of Houston . She’s excellent at pulling together the furnishings in the room, your taste, and decorating ideas, and finding the perfect wallpaper selections . Prices are discounted below retail . Call first, as her hours vary. (73) 529-6515 The pattern is called Cheverny , and it’s by Decorline , in their Architecture collection. The home is in the Heights area of Houston
Crib accent wall , primed and ready for wallpaper .
Done! The new mom wanted a cactus / desert theme for the nursery . Indeed, there are a good number of cactus items in the room – diaper pail , mobile , etc. When she found this mountain / sand dune / moon nightscape image on-line – she was sold! The colors are perfect for a little girl , and it’s a perfect backdrop for the more cactus-forward elements elsewhere in the room. And, this design is not “kiddie” and will grow with the child for many years.
Close up . Looks a lot like an artist’s water color paint wicking into water color paper .
This mural was custom-sized to fit the wall, and came in panels . Here you see three full-width panels of about 42″ , plus that rectangle in the lower right side which is for over the door , and then the narrow strip in the center , which will go in the small area to the left of the door . In the end, this looks good. But I wasn’t crazy about this brand, nor the material . This came from China , and virtually no information was provided on-line, nor were there any installation instructions included with it. Not even a brand name! What little info there was, was presented in Chinglish . It helped to have had a couple of decades installing wallpaper , to understand what was needed to get this onto the wall. Also, even though I had visited the site and measured the space, the homeowners took their own measurements and ordered this mural without running everything by me first. When installing wallpaper , you want a good sized margin (” bleed “) around each side – about 2″, to accommodating trimming and to allow for un-plumb walls and un-level ceiling and floor lines. Because the homeowners hadn’t taken this into account, and because the company only allows for … let’s guess … a .5% margin … consequently, the mural company printed this product with only 1” bleed – to divide between ceiling line and baseboard . Sorry, my photo didn’t turn out of the scant 1/4″ of “extra” I trimmed off at the baseboard . And, to make all that worse, the ceiling was pretty off-level . That means that if the wallpaper is hung true to plumb , or even butted against the right wall , hanging the panels from right to the left, as the ceiling moved upward , that scant 1/2″ of bleed could be used up and disappear, leaving us with a gap at the ceiling line. So I was prepared to pull the panels up or down, as needed, in order to be sure there were no gaps at ceiling or floor. But this meant that the pattern might not match perfectly, if I had to pull it up or down 1/4″ or more . I wasn’t too worried about that, because this pattern is pretty hazy, so a slight mis-match wouldn’t be to offensive. Speaking of starting by butting up the first panel in the far right corner … this would have been ideal, because it would have saved me some precious width . But … the factory didn’t provide straight cut edges. It looked like someone had used a rotary cutter without a straightedge , to trim the panels. Consequently, the right and left edges were not perfectly straight, so that first panel could not be butted up against the right corner . I had to allow for a 1/2″ wrap around, and then trim that 1/2″ off, making a tight fit in the corner. Speaking of cutting and trimming … the material was hard to cut through. It was a somewhat thick non-woven material , and I believe it has more than the standard 20% polyester content. In fact, it felt like it was made of pure fiberglass . Meaning, it took a lot of pressing and strength to push the paper against the edges, so I could trim off the excess with my trim guide and razor / snap off blade . Some cuts weren’t as clean as I’d like, with some fibers of the polyester / fiberglass peeking out. One good thing about this non-woven material, though … it doesn’t tear while working with it, and it will strip off the wall easily and in one piece , with no damage to the wall , when it’s time to redecorate . It’s also more resistant to stains than paper wallpapers . And less susceptible to humidity . On the other hand, all that fiberglass and plastic bring unexpected characteristics … I used the paste the wall technique for installation. When I went to hang my first strip – it would not stick to the wall! I’m not kidding – the thing just fell off the wall! Might have called for a more tacky paste , like clay – based. But I hate that stuff, because it’s impossible to wipe off the surface , and because I’ve seen it bleed through wallpapers and leave a tan cast / stain on the sufrace. So, instead, I doubled up on the amount of paste I used on the wall . This is a little tricky, again, because the paste dries as it sits on the wall, and can dry out before you get your strip up there. Especially around the edges, where you brush it on / cut it in . And at the seams, where you’ve pasted a few extra inches of wall, waiting for the next strip. Bottom line, while I pasted diligently , I am not 100% confident that there was enough to adequately hold the paper up, esp over many years. Another unhappy facet of this mural company is that their panels need to be double-cut on the wall. That is our industry term that means overlapping the edges of two panels and then splicing them together . … First protecting the wall under the seam with a plastic / polystyrene strip that we call a Boggess pad, to prevent you from scoring into the wall surface below. And then using a straightedge (see pic below) and a new razor blade to cut through both sheets of wallpaper. Then you remove the excess edges that you just cut off, and also remove the plastic strip, and press the two edges together. This usually gives a perfectly butted seam . But … it takes a lot of extra time, strength (cutting through two layers of fiberglass ! ), materials , plotting , and puts stress on the wall , which you don’t want because that can lead to delaminating surfaces and popped seams. Another thing … the panels were 43″ wide. Most wallpaper strips are 20.5″ or 27″ or up to 36″ wide … which is about the limit of what my lil’ girl frame and wingspan can handle. So it was more than a bit of a balancing act, up 10′ on a ladder, wresting a strip nearly 4′ wide that won’t stick to the wall and that’s warping out of shape, and need to move the ladder to get a better angle for the double cut procedure …. At this point in my blog posts, I usually provide the name of the design and the manufacturer . But tonight I’m not doing that, because I’m really hoping not to see this stuff again. To be honest, it’s not all that bad. But it’s much better suited to an installer who does commercial work, and is used to handling these heavy fiberglass materials, and to using the double-cut install process . On a flat accent / crib wall , I got ‘er done. But this would have been extremely difficult to work with in a more complicated room like a small powder room with vanity , window , toilet , corners , etc …. The home is in the Woodland Heights area of Houston I know that white walls are all the rage right now. But I’m hoping these parents take the step to add some color to the surrounding three walls. A light shade of pink or orange pulled from the wallpaper , for instance. Or, a more subtle look , the light off-white of the moon , would work wonderfully to warm up the other walls, snug up the room, and also set off the woodwork and window coverings .
Here’s my double cut straightedge . This is 24″ long, but it also comes in 36″ and longer, I believe. It was conceptualized and produced by Eunice Bokstrom , a fellow member of the Wallcovering Installers Association ( WIA ) . To purchase, check out wallpapertoolstore.com
Here is an attempt to hang peel & stick so-called ” wallpaper ” on an accent wall in a primary bedroom . The homeowner wasn’t happy, and stopped after just two strips. I’ve come in to replace the P&S with a traditional wallpaper.
There are lots of reasons to avoid peel & stick (click the link below). One is that, when removed, it can tear your wall surfaces apart. That’s what happened here – the paint and then the top layer of drywall have come off the wall. This needs to be repaired before the new wallpaper goes up, because it will leave a visible indentation under the new paper, and because the torn drywall will absorb moisture from the primer and wallpaper paste , and swell and leave a bubble under the new paper. https://wallpaperlady.wordpress.com/peel-stick-stay-away/
Someone tried to hang peel & stick material on this accent wall in a master bedroom . The homeowner wasn’t happy (this is horrible stuff, IMO – read the link below) so I’m here to remove the P&S and replace with traditional wallpaper . Whoever put it up did a pretty good job, because the two strips were pretty smooth and free of wrinkles . But most people aren’t that lucky …
Taking it off will show you a bit of the problems that can happen when trying to put this stuff up … One – It sticks to itself ! And it can be the Devil to un-stick. And, if you can manage to un-stick it, it will have creases and wrinkles and tears. Definitely not a good look for on your walls. Please stick to traditional wallpaper . More in the link below … https://wallpaperlady.wordpress.com/peel-stick-stay-away/ installer houston
Hanging wallpaper from left to right. Need to get paper around this window . Challenges are getting the pattern to match both above the window and then under the window, after the paper has stretched and twisted and conformed to wonky walls in this 100 year old home in the Houston Heights neighborhood . Other challenge is keeping the far edge of the next strip straight , so the subsequent strip will butt up against it without gaps . I’ve positioned and trimmed the short strips above and below the window . The wallpaper is about 20″ wide. The next strip is going to have about 12″ of width over the window area, and 8″ hanging down to the right of the window molding. I don’t want a 12″ wide strip of paper that’s 9′ long hanging over that window, putting weight on the right edge, and slopping paste over the paint and window shade.
So I’ve taken that next strip and have split it vertically, planning to have the left section be 11″ wide. I’m not trimming it to the exact width of the gap, because, first of all, you can never get it 100% spot-on, and, besides, the walls and moldings and etc. are never straight or plumb, plus the paper stretches and twists. But more important is that the area over door and window corners is subject to a lot of stress, and is a prime area for cracks in the drywall to appear. So I don’t want a wallpaper seam right there. I think the area will be more structurally sound if the paper extends an inch or so inside the edge of the molding, not exactly at the top.
Next, I’ve cut out the middle section that is where the window is, and left the sections that will go above and under the window.
Top piece in place, and trimmed at crown molding and at window trim.
Bottom piece in place. But not trimming at top and bottom, in case of needing to reposition it in order to tweak the pattern match with the next strip, or adjust the butting at the seam . Note I’ve used a little extra paste on this piece, so it won’t dry out and stick to the wall before I get the next strip into position.
Next I’m putting into position the remaining 9″ wide section of the split full-length strip. But not trimming along the window molding, because I want to be able to pull this away from the wall and reposition if needed.
Here it is, coming down to meet up with the strip underneath the window.
Have made some relief cuts , to enable the paper to fit around the window molding. As you can see, there’s a bit of a gap between the two strips.
Have readjusted the new strip to move it over a smidgeon so it butts up with the piece under the window. The pattern match is good. But if it weren’t, I could gently pull the short strip away from the wall and move it higher or lower, to get a better match.
Getting ready to trim off the excess .
Trimmed along the upper portion of the window. Also working to keep that right edge straight. A laser level helps with this, too, as well as a ruler.
Now trimmed all the way down and under.
Now the subsequent strip is in place, having butted up nicely against the right edge of that 8″ wide strip. Final step is to cut a new piece to fill that gap between the wallpaper and the corner. See other posts here to read about that.
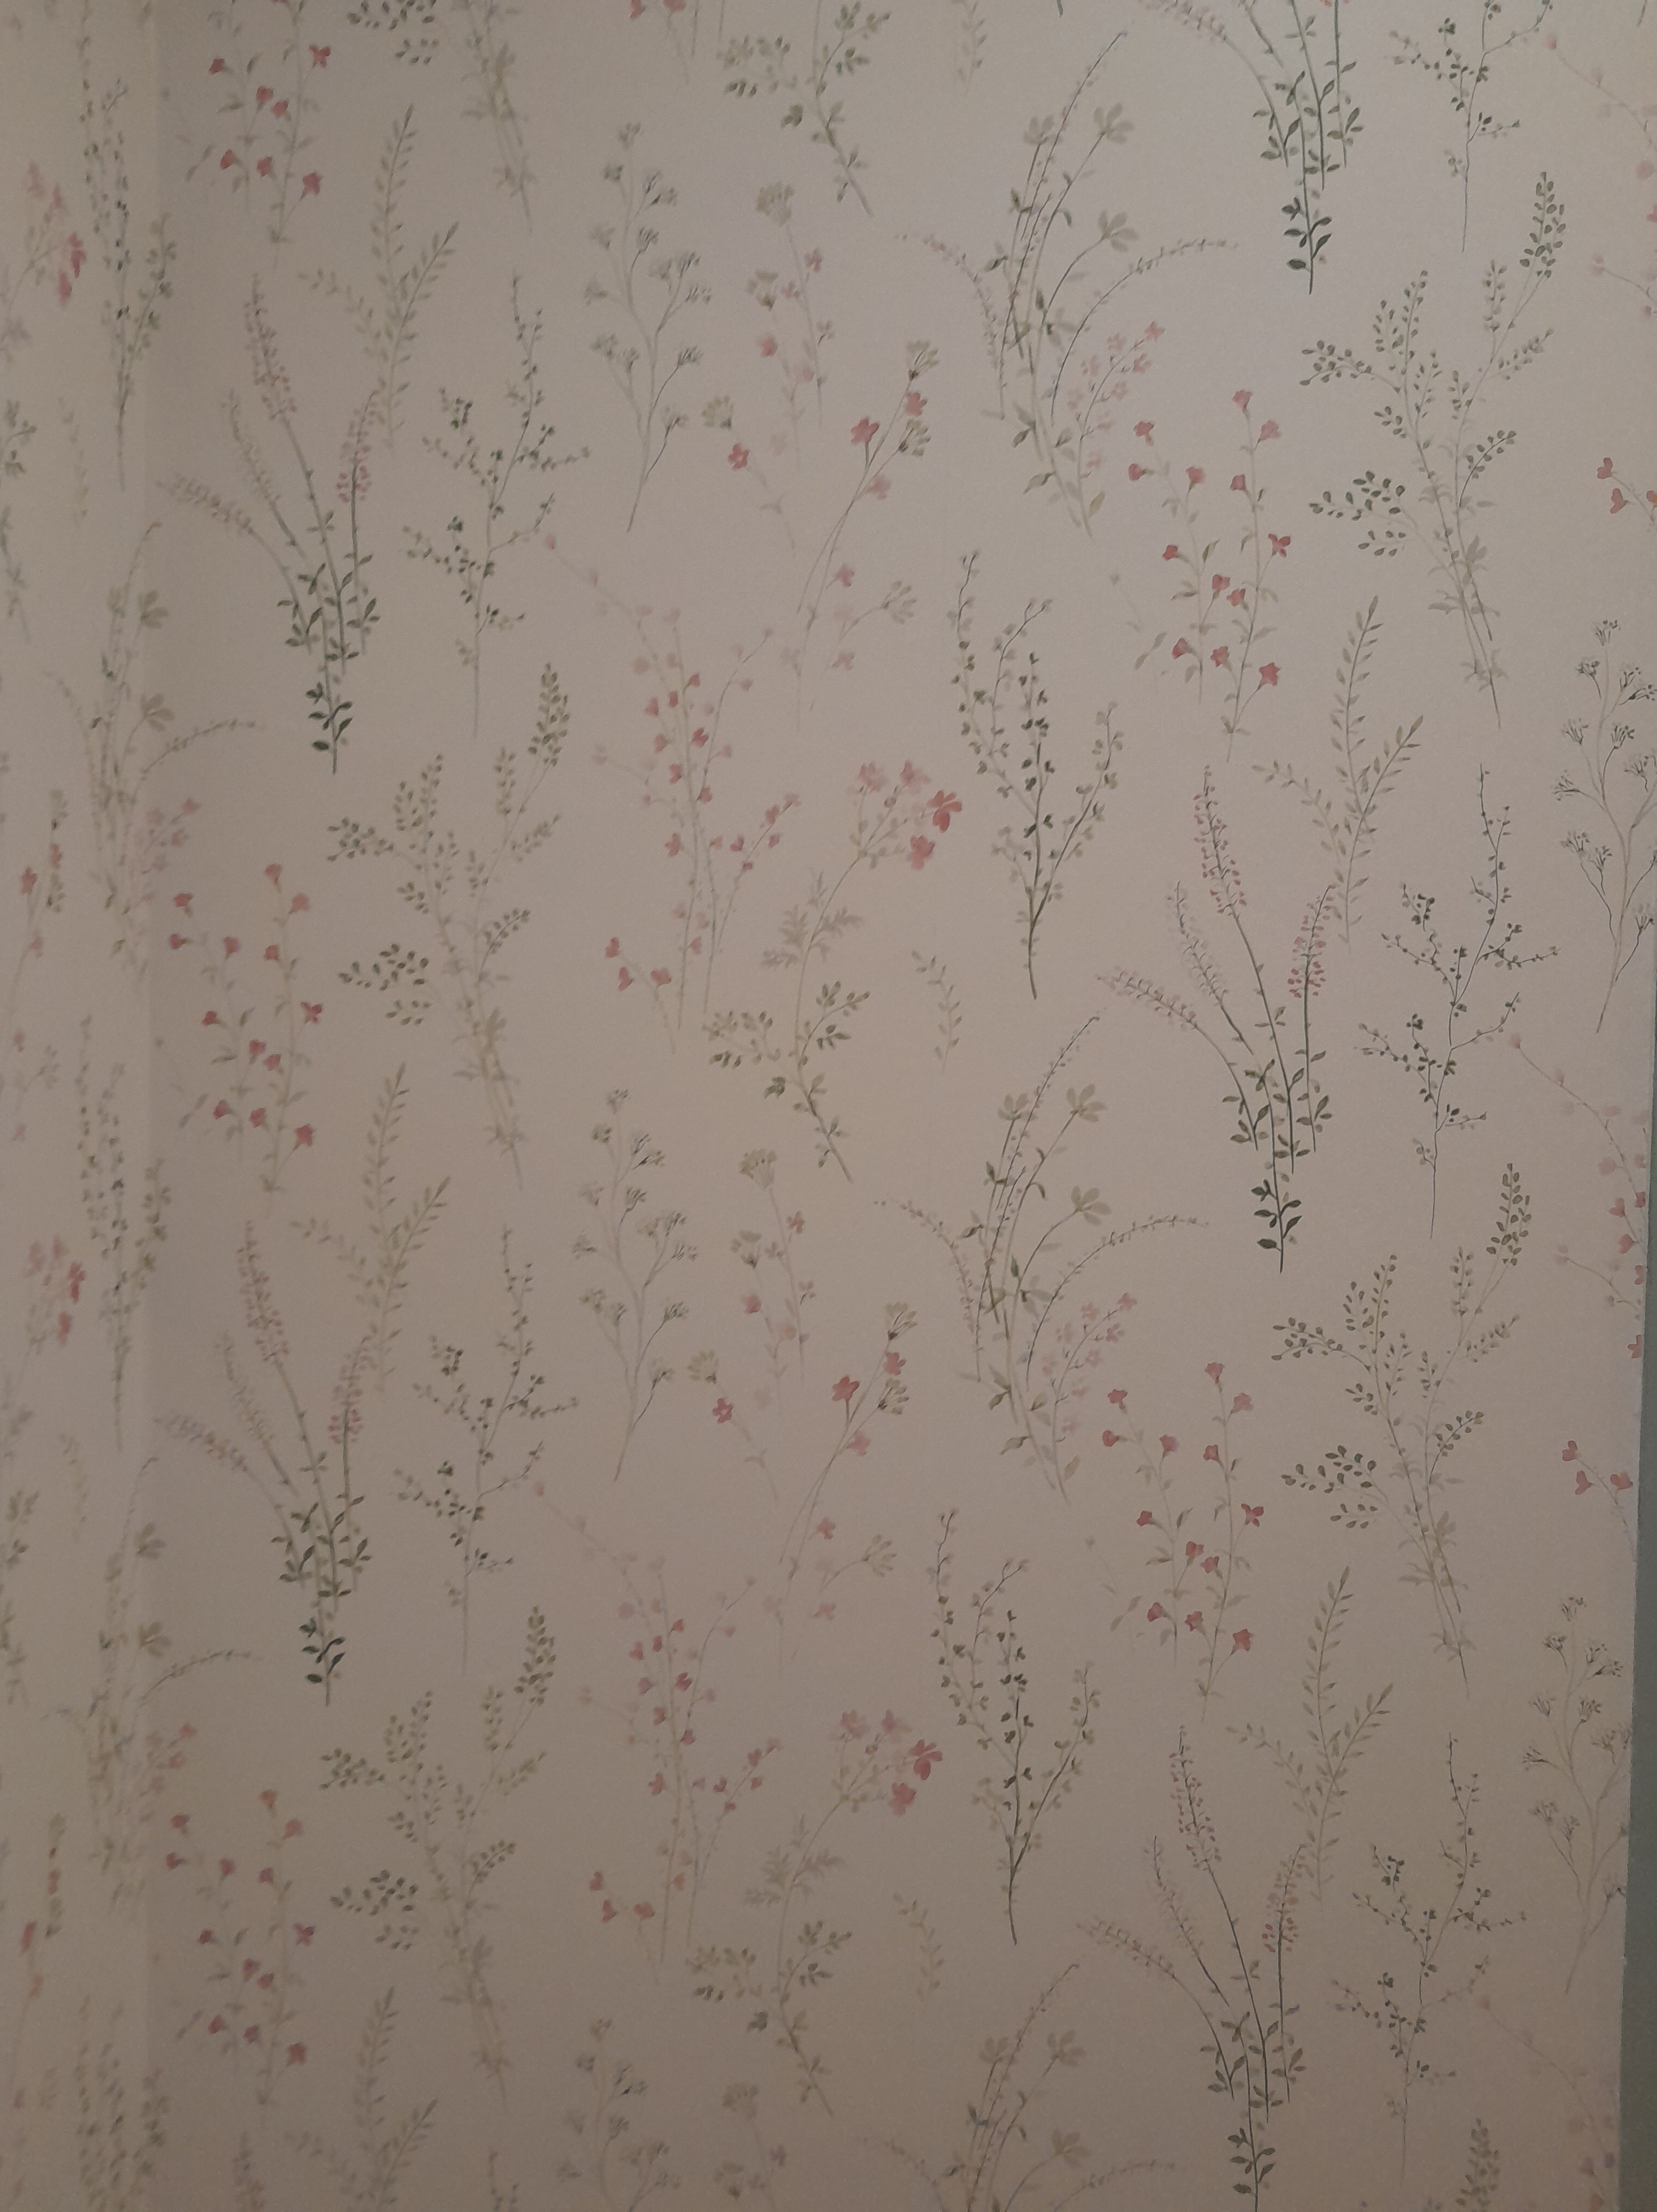
Here is that narrow piece in place, as well as the next two to the right of the corner . The pattern is called Wildflower Sprigs
The brand is York , and I like this company a lot. installer
I’m hanging wallpaper , moving to the right. Here I’m about to place a narrow strip in that gap on the right. You don’t want to wrap wallpaper around a corner, especially one that’s bowed like this one, because it won’t fit tightly into the corner, the far side is likely to warp and wrinkle, and paper is likely to tear in the corner when the house shifts with weather conditions, etc. So, what you do is measure the width of the gap and add 1/8″ because you want a bit of paper to wrap around the corner. Then you use a razor blade and straightedge to split the strip vertically. See a previous post that that explains this.
Now that that narrow strip is in place, I’m checking the corner before hanging the split-off portion of the strip. As you can see, the yardstick is butting against the wall at the bottom, but as it moves upward, the wall starts to bow away to the left, leaving a gap. The left edge of my next strip of wallpaper is straight, so it’s not going to butt up nicely in this corner. The pattern’s not going to match perfectly in the corner, either. Good thing this is a sort of loose design , so the mis-match won’t be too obvious. So we strive to match the pattern at eye level, and just accept that it’s going to drift off as it moves up and down from there.
The strip on the left is not attached to the wall yet. I’m about to move it to the left into position. But how to deal with the wall that moves to the left at the upper portion?
Usually I trim my next piece so that, when butted into the corner, the pattern matches perfectly. But that won’t work here because the wall isn’t straight, so the same flower isn’t in the corner all the way up the wall. So what I’ve done is to cut at a point in the design so that about 1/2″ of it will wrap around the corner to the left, as you see here. The pattern is matching nicely. And at the top of the wall, where the gap is wider, there is enough of that 1/2″ to fill the gap. At the top of the wall, the pattern will not match perfectly – but we’re focused on eye-level, remember?
Another benefit of this method is it allows the right edge of the wallpaper strip to hang nice and straight, which is important because your subsequent strip will need to butt up against that edge with no gaps.
Back in the corner, looking at the overlap. The pattern matches nicely – but we don’t want to be looking at that paper overlapping there.
So I’m taking my trim guide and a brand new blade to gently trim off that excess 1/2″. Which, since the wall is bowed, is actually more than 1/2″ and less than 1/2″ at different heights of the corner .
It’s important to cut gently and lightly, so as not to cut through that important 1/8″ of paper that we left wrapped around the corner on the piece underneath. If you cut through both layers, you’ll be left with a shadow-catching gap in the corner .
Gently remove the excess.
Smooth the new strip into place, making sure the corner is nice and tight.
Use your microfiber cloth to gently remove any paste that got onto the wall to the left.
Here it is done.
Taking a peek at that important 1/8″ overlap in the corner .
This pattern is called Wildflower Sprigs and is by York , a brand that I like a lot. The home is in the Heights area of Houston . installer
Here I’ve hung wallpaper on the wall to the left, and am now working my way around the corner and onto the wall on the right. I’ve measured that last strip on the left and split it vertically, so that 1/8″ of it will wrap around the corner. My next piece – the piece that was split off – will overlap on top of that 1/8″. The piece that was split off is narrow – only about 5″ wide.
You can’t expect a narrow strip like this to hang straight and plumb . Because it’s narrow, it’s flexible , and will twist a bit. Especially since this wall (100 year old house) has a bow in it; trying to get the narrow piece to meet up at the top of the wall, middle, and bottom will result in an un-straight right edge – That’s a problem, because we’re going to want the next strip of wallpaper to butt up against that edge. If the edge isn’t straight, there will be gaps at the seam . So how do I keep that right edge straight?
One way is to hang the subsequent strip at the same time you hang the narrow strip. Because the next strip is full-width, it’s more likely to hang nice and straight. I can butt the narrow strip up against it, and tweak it in the corner if need be. Here the two strips have been positioned, and I’m getting ready to unbook the second strip, butt the seam, and smooth both against the wall. Once everything is satisfactorily in place, I’ll trim off the excess at ceiling and baseboard .
But – oops! In order to keep the narrow strip tight in the corner without gaps , it was necessary to allow it to bend a bit. That means that the subsequent strip has to bend at the left edge to meet up with the narrow strip. That resulted in a wrinkle. I was able to work out the brunt of the wrinkle, but some of it simply wouldn’t.
So here I’m using a razor blade to make a relief cut , following one of the flower stems, to disguise the slice. I’m holding the paper away from the wall while I do this, to avoid scoring the wall surface. If the wall is not intact, the layers inside can come apart as the paste dries and the paper shrinks and puts tension on the wall. So you’ll have a popped seam that’s difficult to put back. Do a search here to learn more.
Now I smooth back into place, and the wrinkle is gone. Next step is to trim off excess at the baseboard.
Note that the new strip of paper is overlapping that 1/8″ in the corner .
An important thing here was keeping the right edge of this strip of paper straight, so that the following strip will butt up against it with no gaps. installer houston